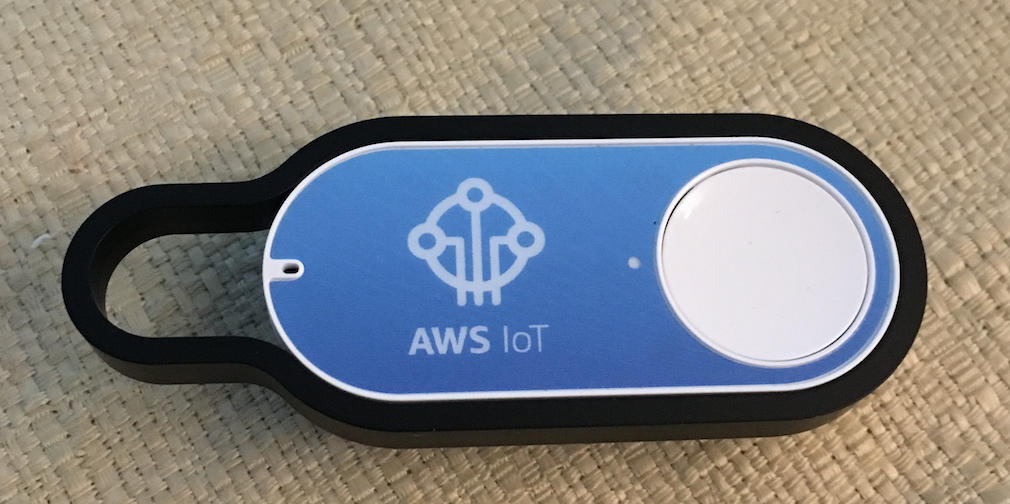
I was able to get my hands on an AWS IoT button when it went on sale last week. I had been looking for one of these since they gave them out at re:invent last year. I believe this was the first time it was on sale to the public. I wanted the button to keep next to my bed and would program it to shut off my hue lights and change the temp on my Nest before bed. Sure, I could set each of these independently on a schedule to power off or change temp at a certain time but having one button to take care of both of these actions was what I wanted.
So the button came and I was eager to get started. AWS has a Lambda blueprint for getting started with IoT and the button. It basically uses AWS IoT button to trigger a Lambda function which creates a SNS topic and sends an email. With little configuration you can setup this demo and get some basic experience with AWS IoT.
Check the AWS IoT button page here.
Click the Configure your AWS IoT Button to get started.
After you login with your AWS creds, what this does is kicks off a Lambda blueprint called iot-button-email that has all of the code and IoT functions associated. While creating from the blueprint make sure of a few things.
1. On Step 2 make sure to add the SQL statement ‘SELECT * FROM ‘iotbutton/+”
2. On Step 3 make sure to update your email and the IoT button serial number in the Lambda function code. Also make sure the Lambda function handler and role is set to the basic execution role.
3. On Step 4 enable the event source and create the function.
A few more tips:
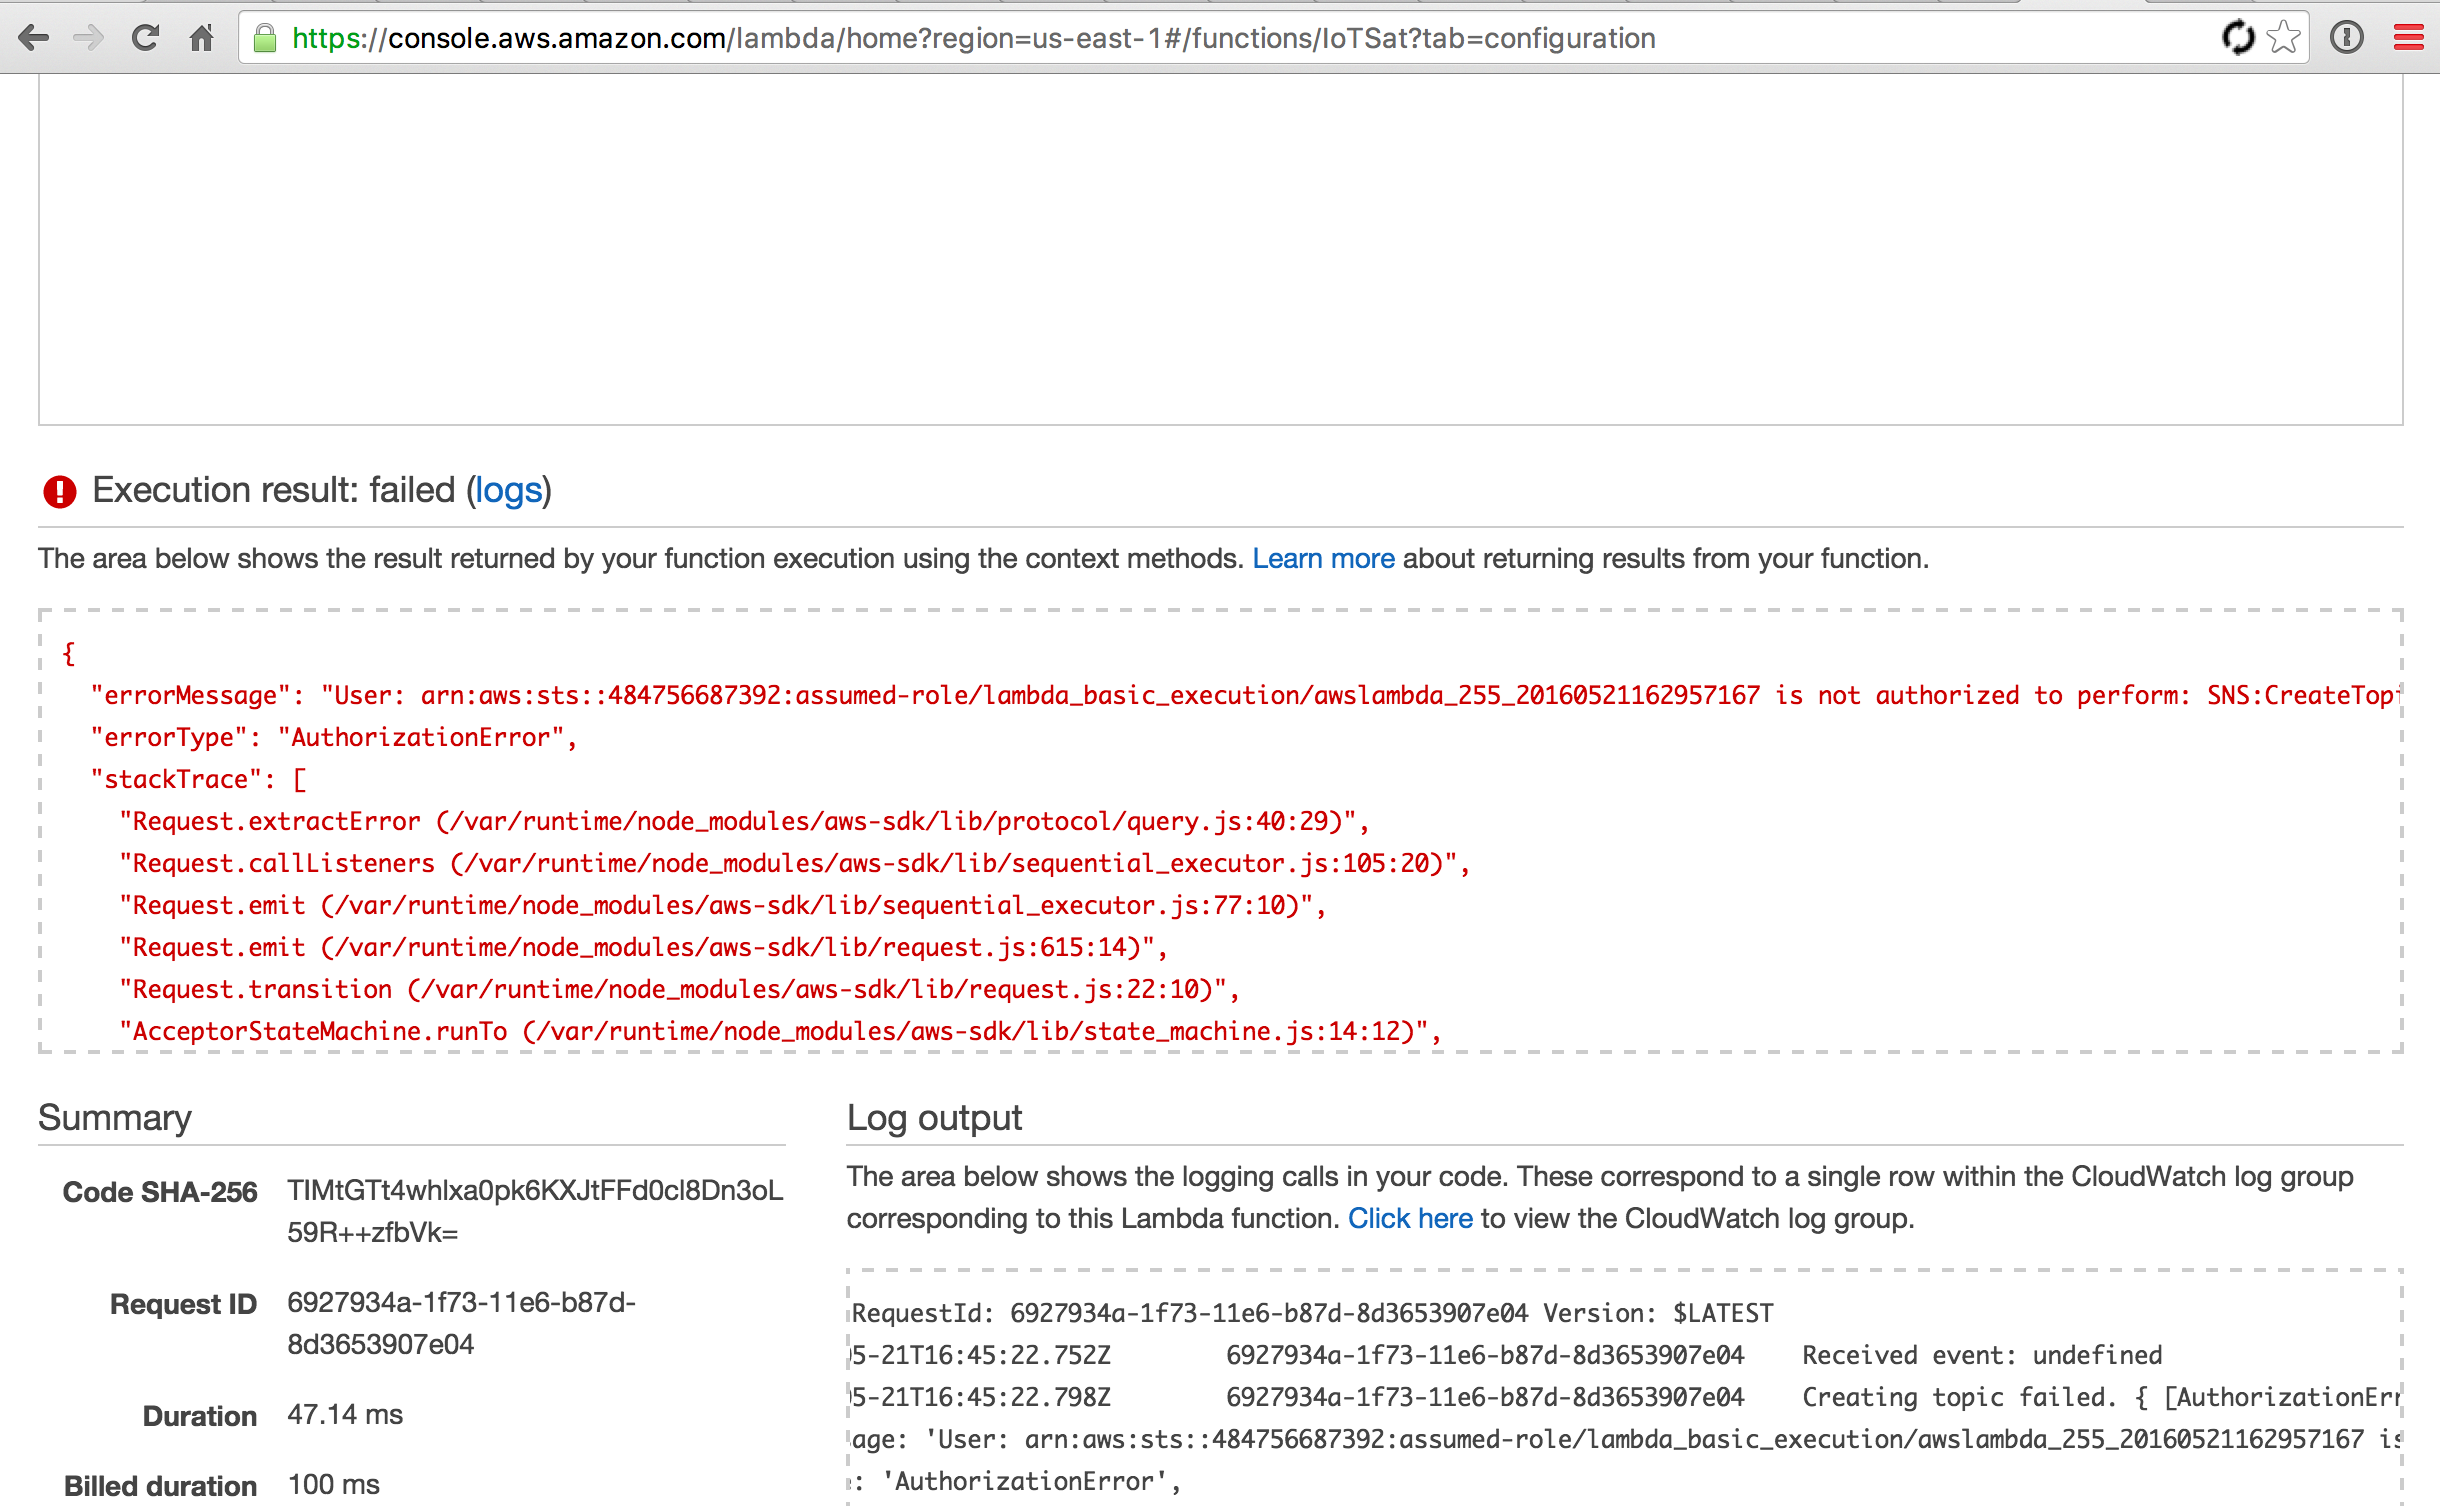
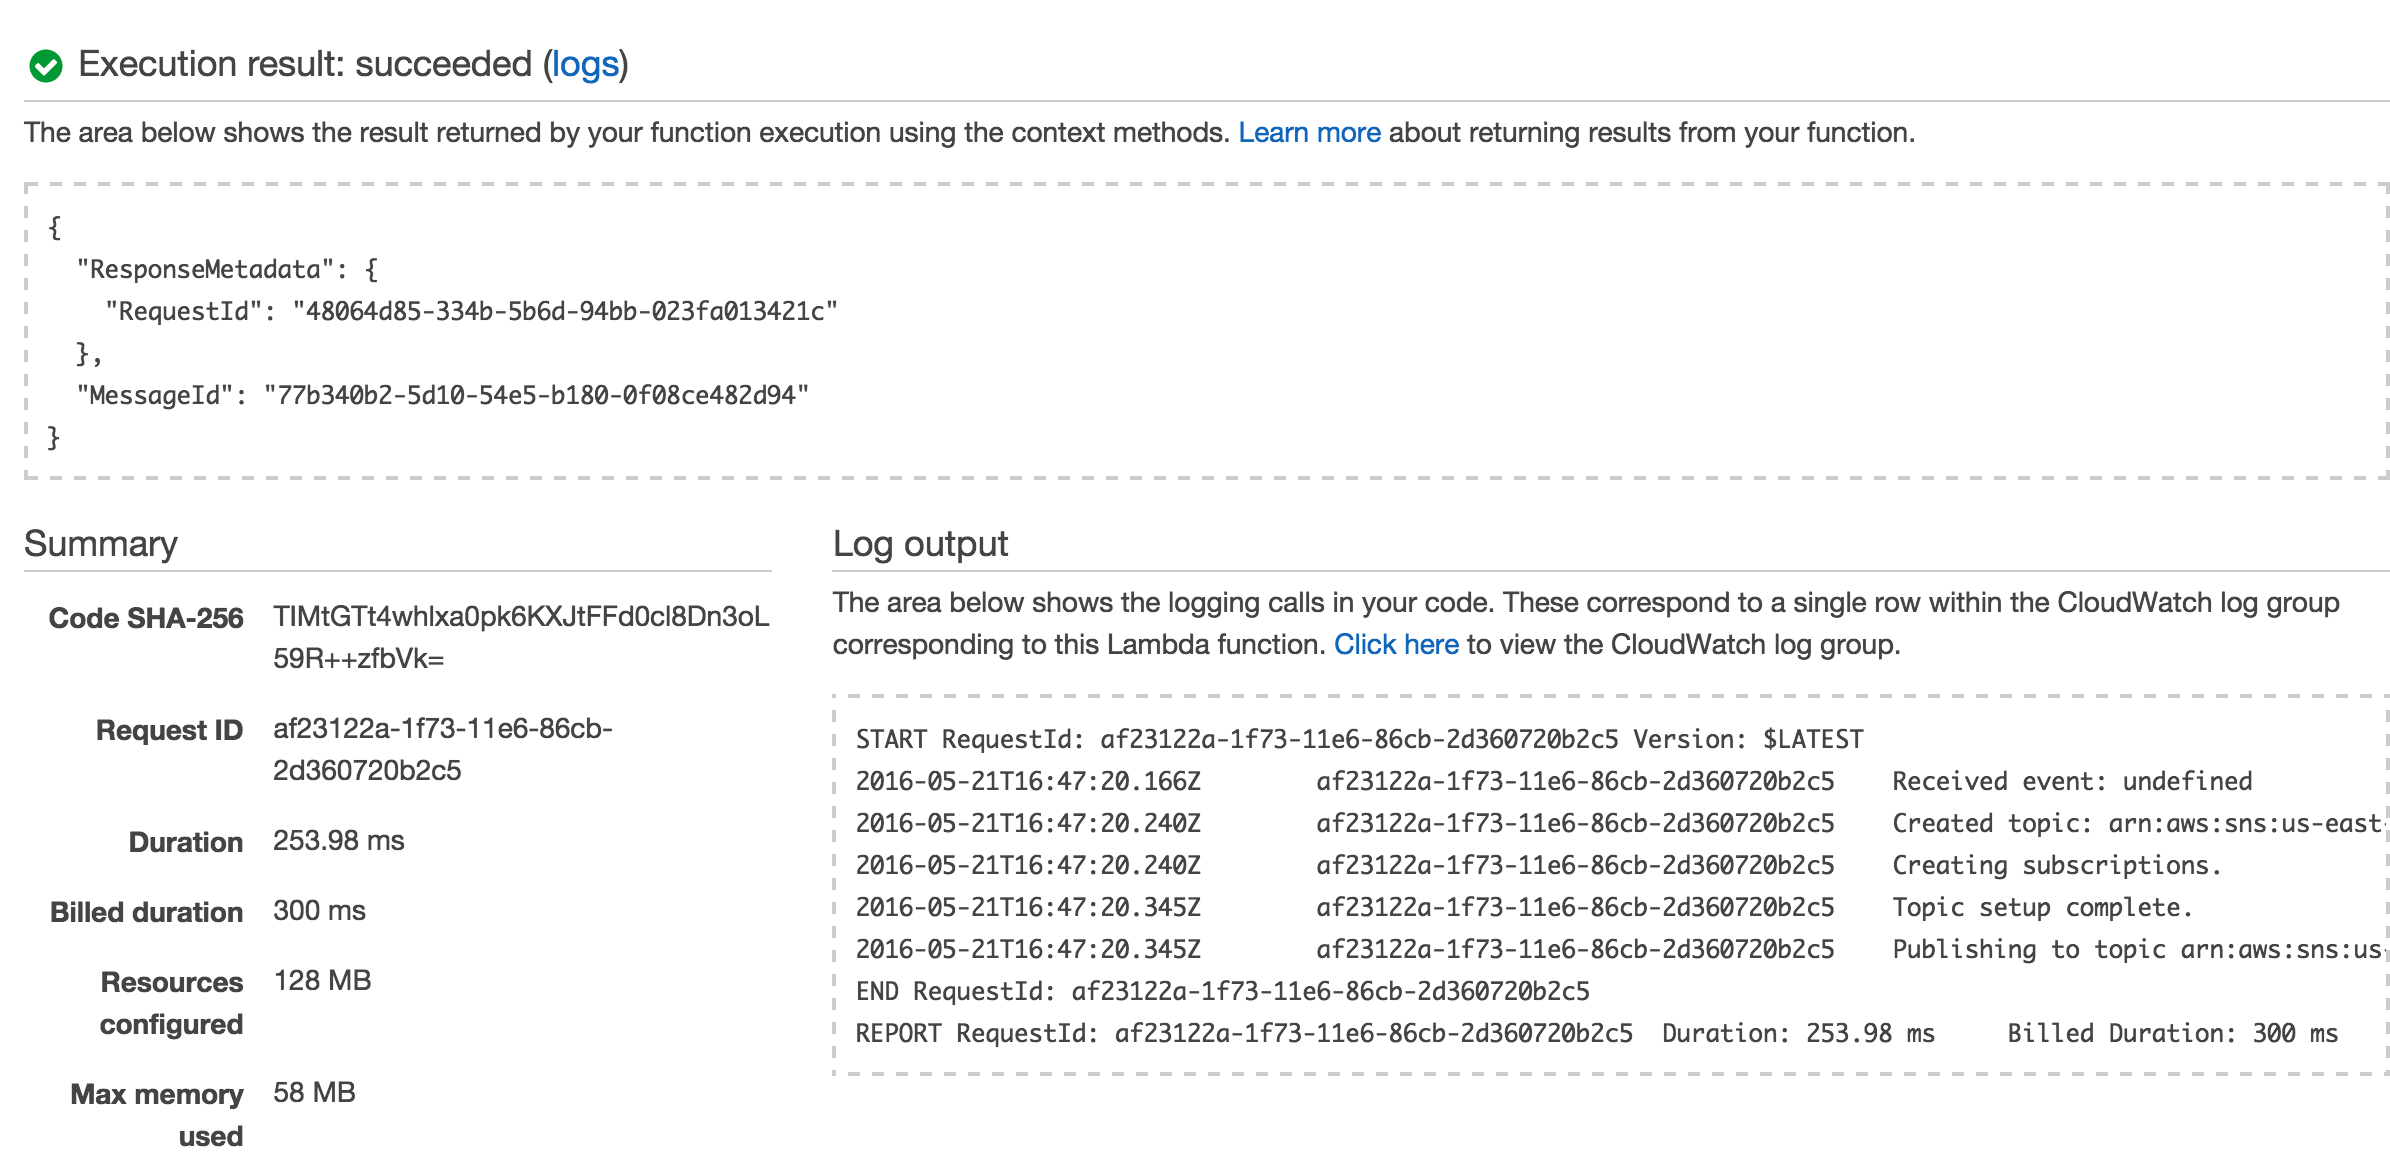
1. After my function was created there was an option to test it, it did not run. Checking the log there was an issue with the lambda basic execution role, not having authorization to create an SNS topic.
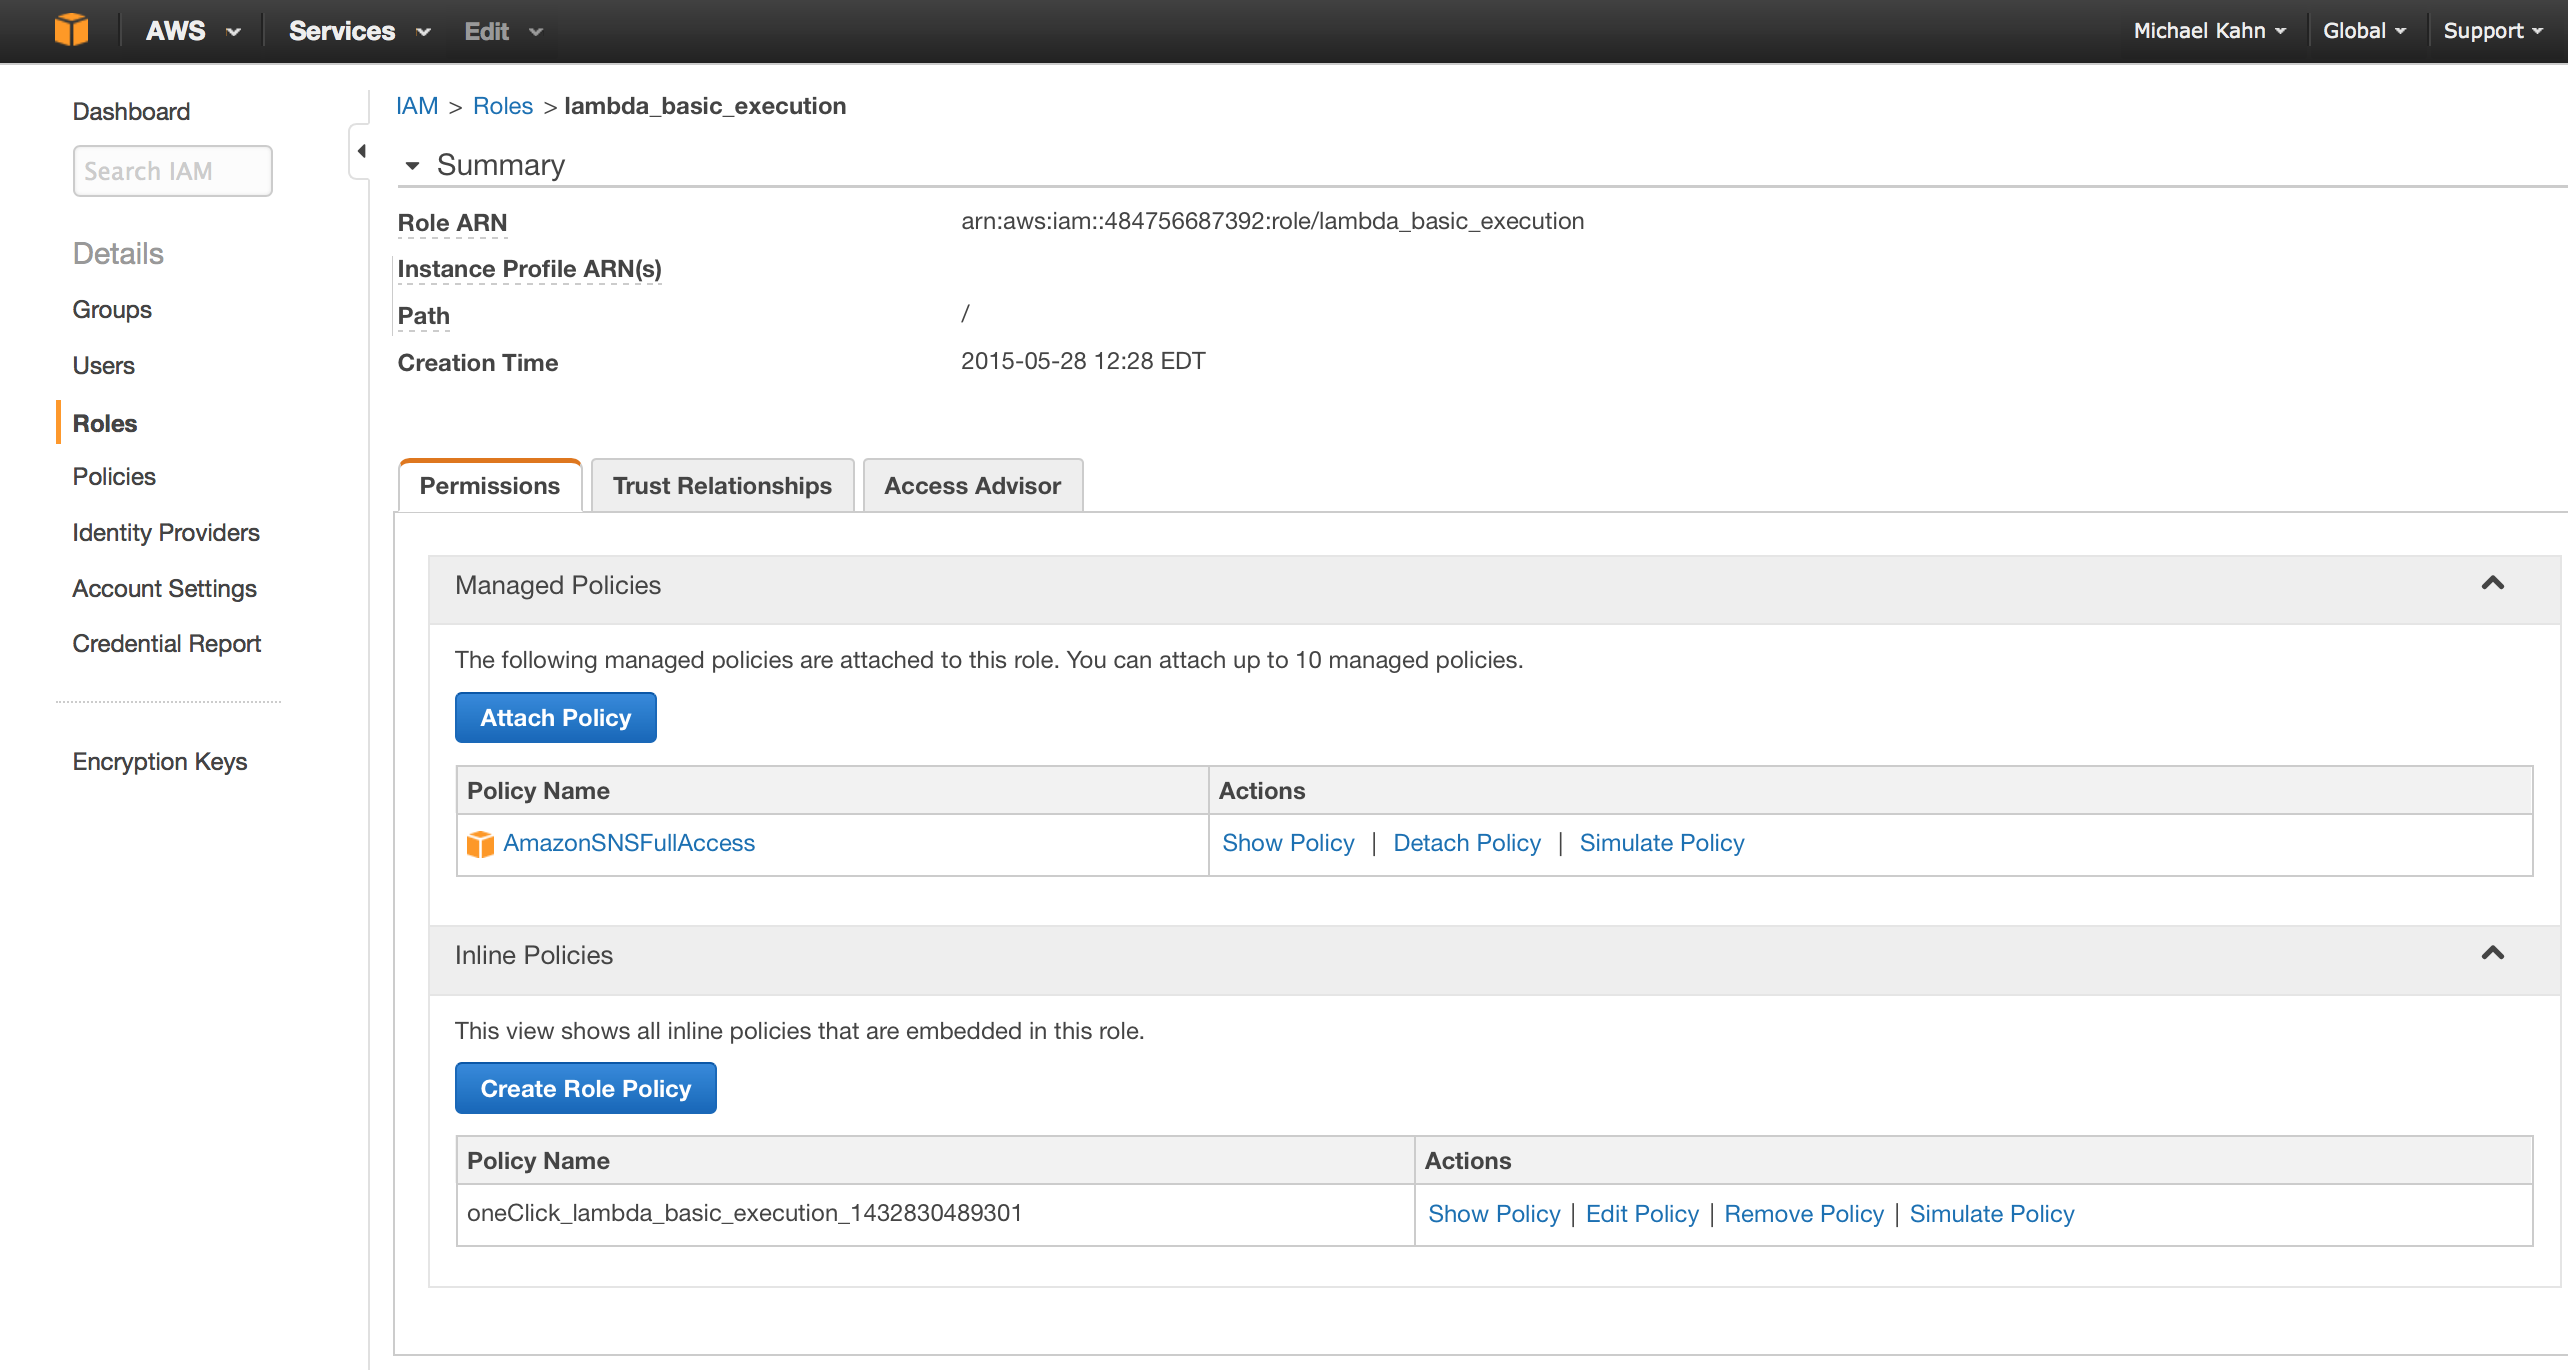
To resolve, go into Identity and access management, modify that role and add the SNS full access policy.
Try running the Lambda function again it should work fine.
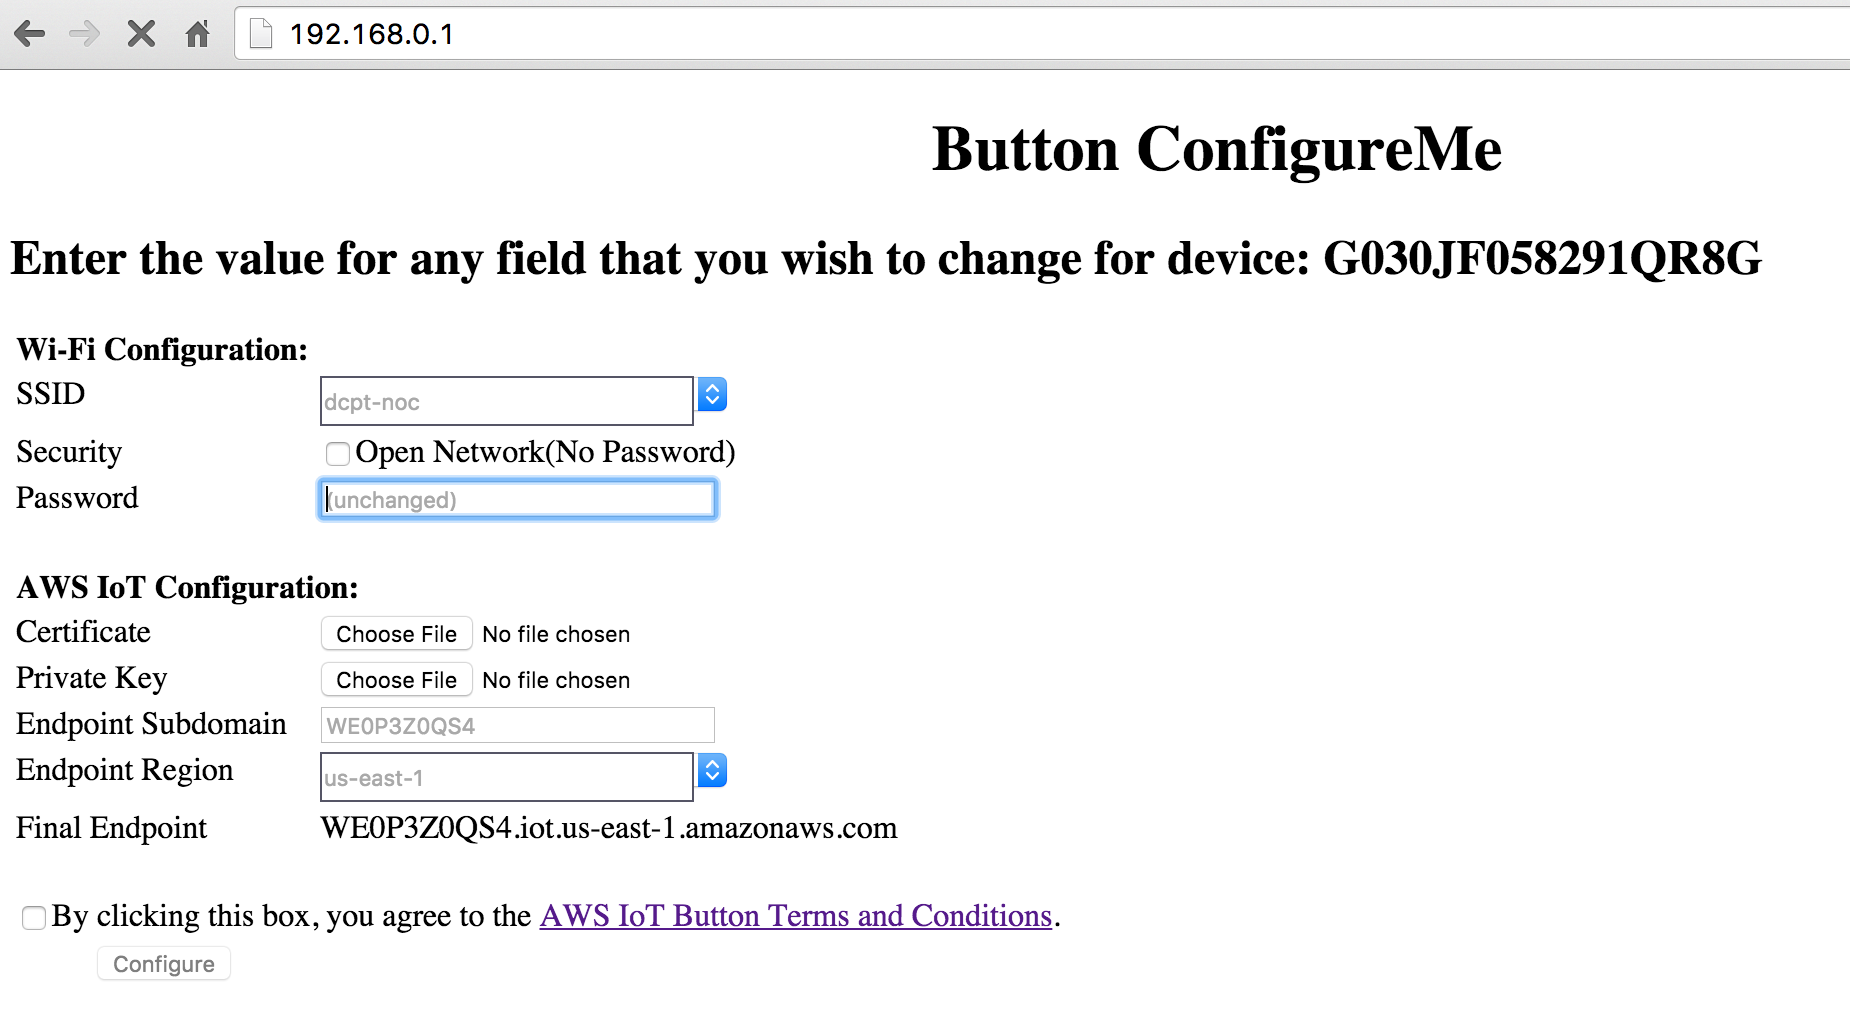
2. So now that your function runs you need to configure your button to your wifi and IoT details. The button will not work without an IoT certificate and private key.
The Lambda blueprint should create some things policies and a certificate in AWS IoT, however I was not able to pull the private key from the already created certificate.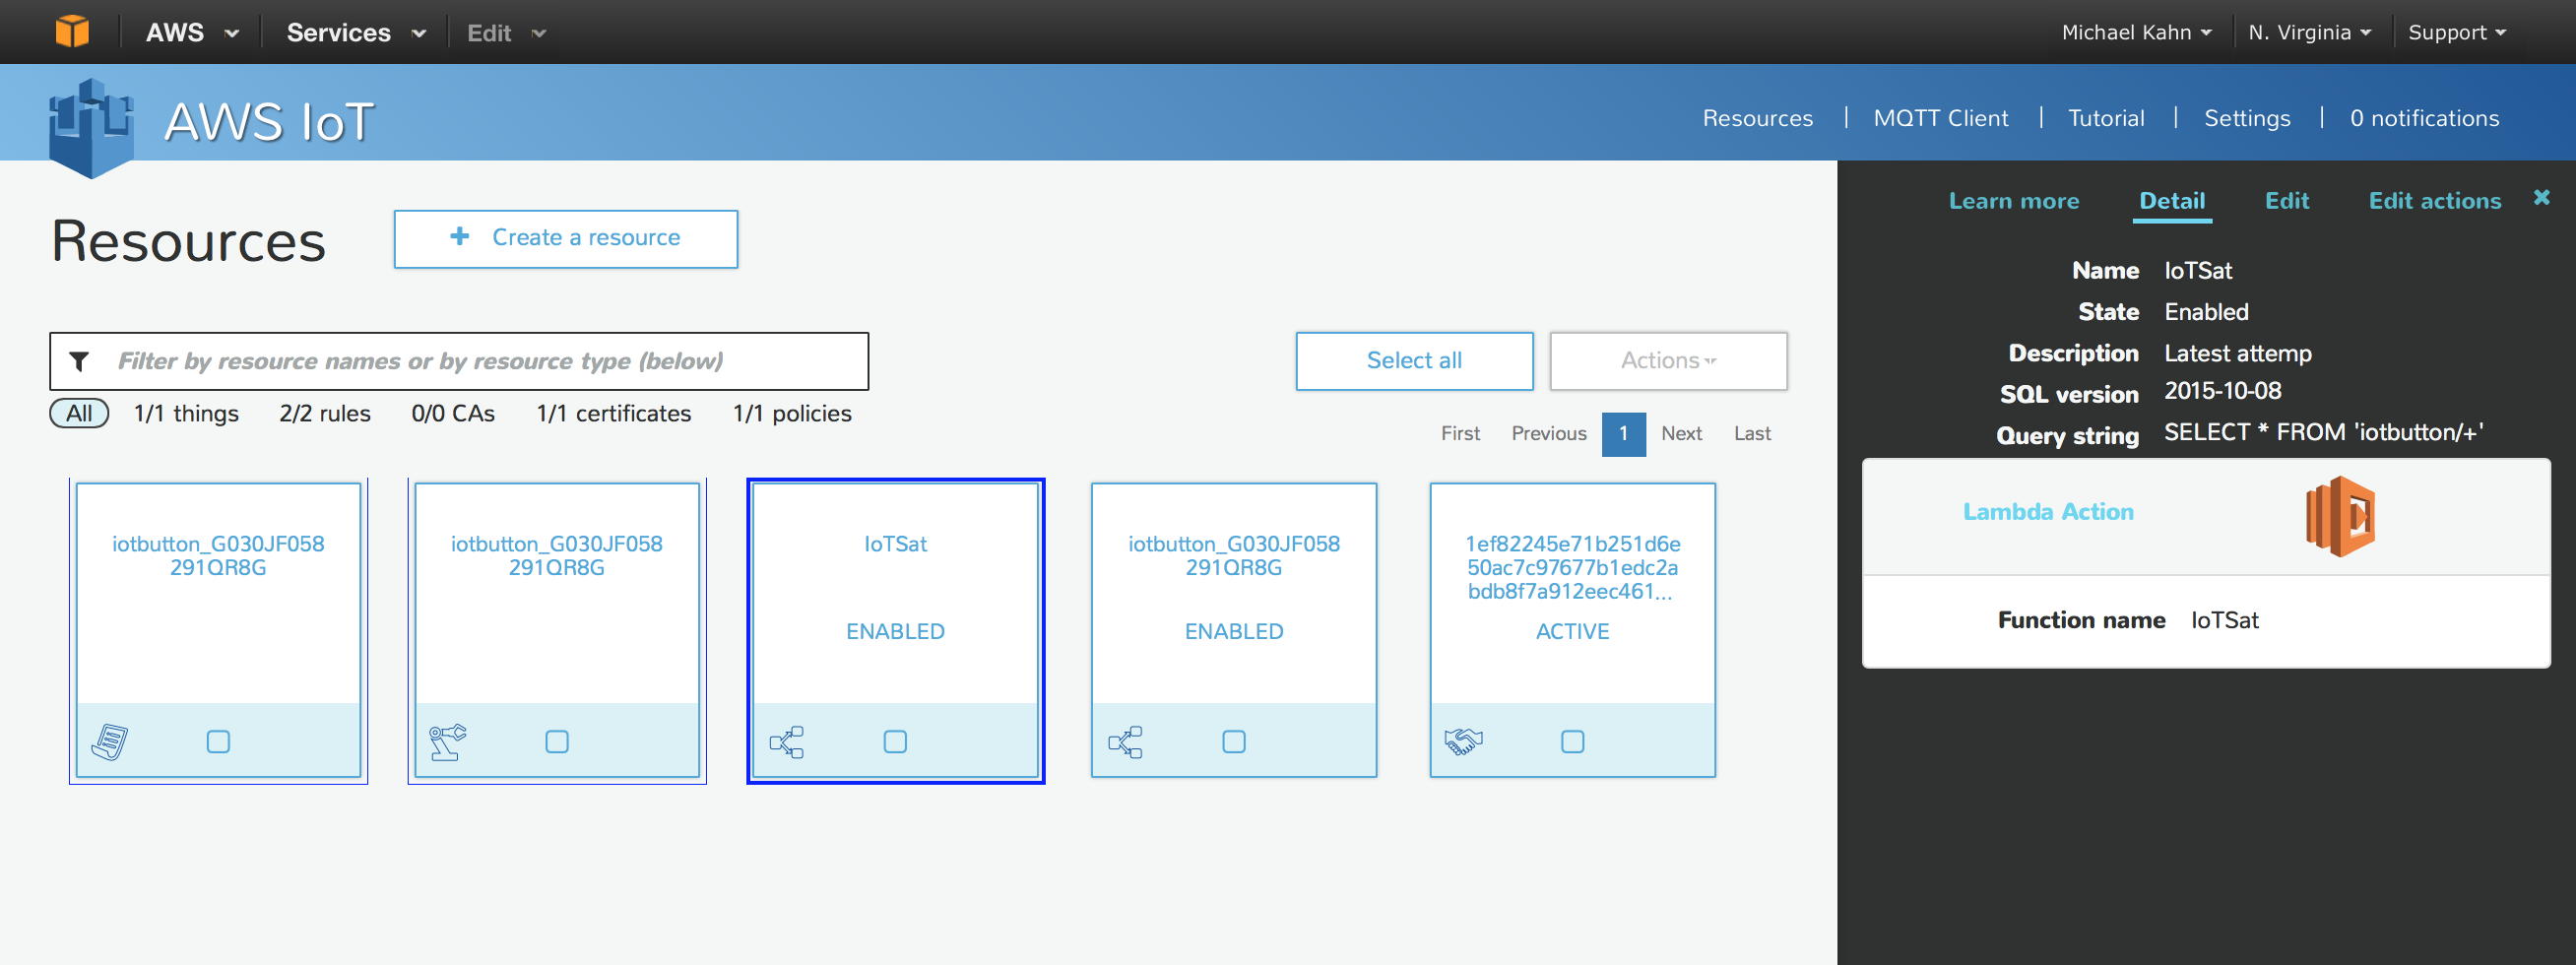
To resolve this I recreated the certificate and attached the thing and policy to it and now I had everything needed alongside my wifi details to configure the button.
If you are having issues getting your button to respond, note the flashing light sequence and refer to the guide on the bottom of the main IoT button page here. While trying to get this working I had a few different errors, short short short (could not connect to network), long short long (certificate did not have permission to publish), long short short (certificate is not activated). Spend some time working through it, understanding how AWS IoT works, and you should be able to figure it out if you’ve made it this far.
You’ll need to subscribe to the SNS topic that was created for your notifications, so be sure to confirm that subscription.
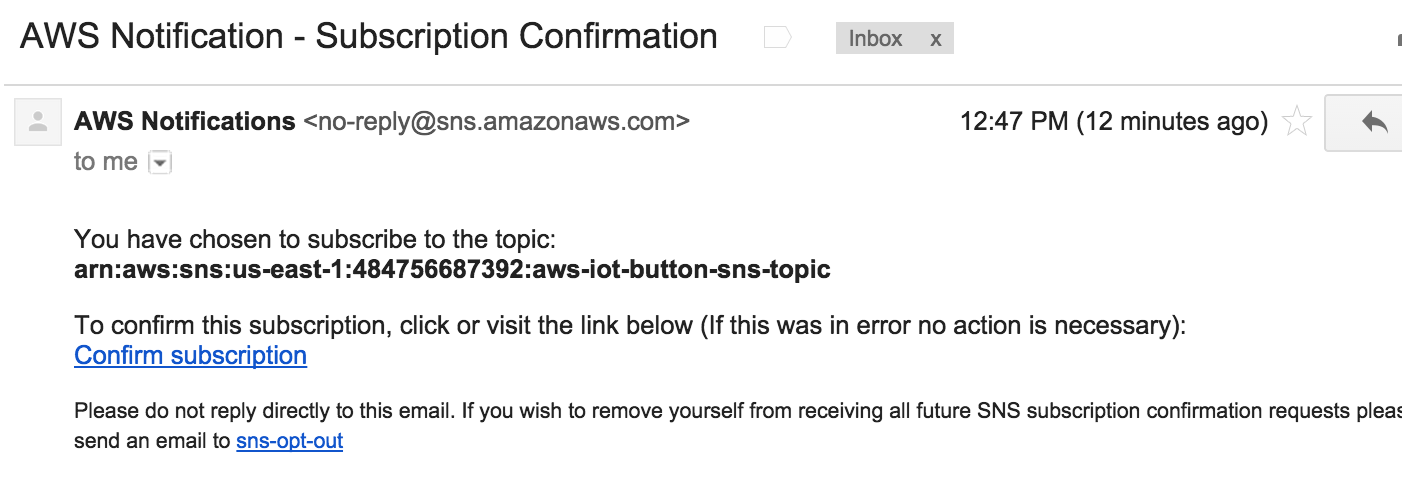
After that you should be able to receive emails from pressing your IoT button!
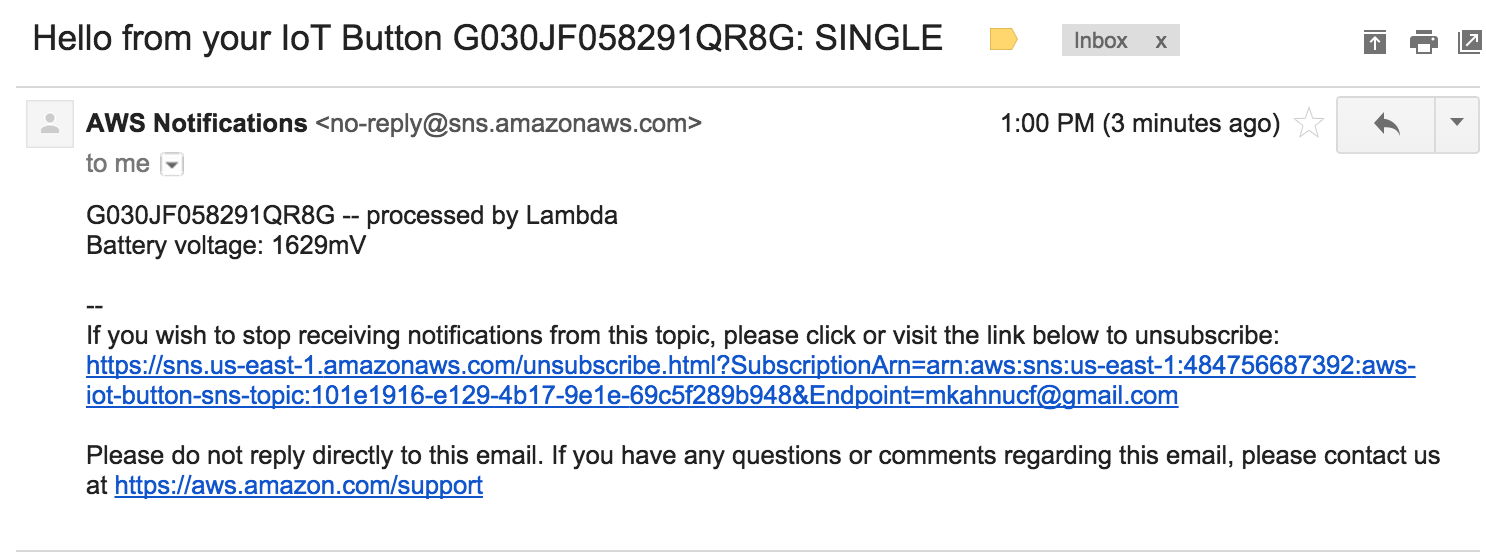
Moving forward from this very basic demo there are many possibilities.
I used and ifttt.com recipe to turn off my hue when an email is received in my gmail account from no-reply@sns.amazonaws.com from this hackster.io post. There is another beginners guide to using the IoT button that may be useful if you are testing.
Next ill try and use the hue and nest APIs to trigger actions instead of using email and ifttt.
Have fun!